Installing an IKEA kitchen can be a rewarding DIY project for those with the right tools, patience, and a solid understanding of the process. Many Australians choose to install their IKEA kitchens themselves to save on installation costs, enjoy a personal touch, and make use of IKEA’s comprehensive manuals and planning tools. However, a kitchen renovation requires precision, especially with levelling, securing cabinets, and ensuring safety with plumbing and electrical systems. For complex installations or if you simply want peace of mind, professional installers like IFIX Group are available to streamline the process and deliver top-quality, durable results. Here’s a complete guide on how to install an IKEA kitchen.
Tools and Materials You’ll Need for IKEA Kitchen Installation
Before you start, gather the necessary tools and materials to ensure smooth progress. Here’s a basic list:
- Drill: Essential for assembling cabinets and securing them to walls.
- Spirit Level: Necessary to keep cabinets and benchtops level.
- Measuring Tape: Accurate measurements are critical.
- Stud Finder: To locate wall studs for cabinet support.
- Screwdrivers: Both Phillips and flat-head.
- Utility Knife: For unpacking and adjustments.
- Clamps: Useful for holding cabinets in place during installation.
- Shims and Spacers: For levelling cabinets on uneven floors.
- Circular Saw (optional): Needed if cutting benchtops or trimming cabinetry.
Once you have these tools ready, make sure you have all IKEA components. Double-check the contents of each flat-pack box as missing items can delay the installation process. For more information please visit IKEA kitchen installation in Australia page.
Step-by-Step Guide to Installing an IKEA Kitchen
Step 1: Planning and Measuring the Space
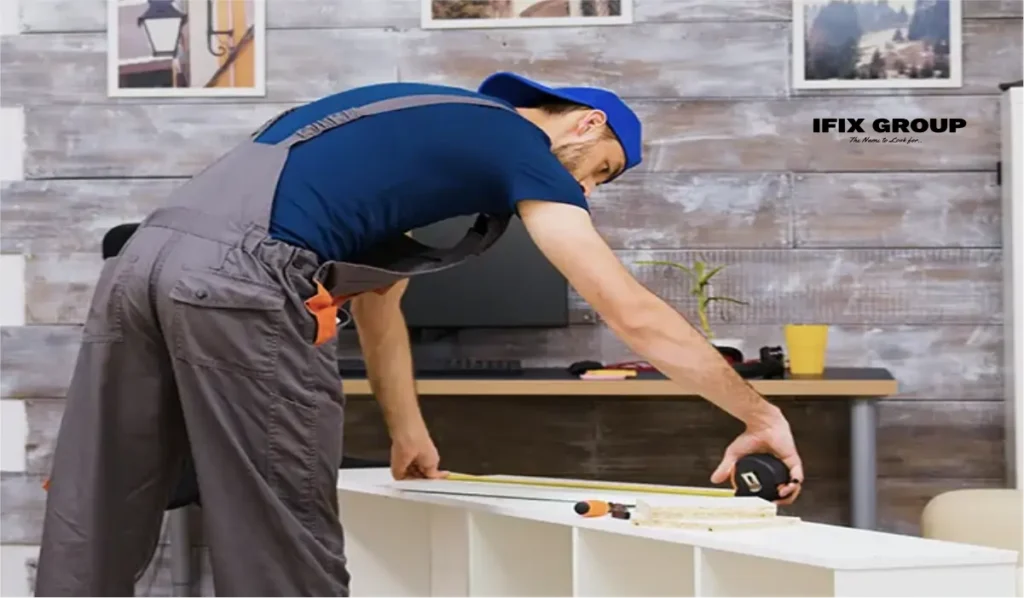
Planning is crucial. Start by accurately measuring your kitchen space, including walls, doors, windows, electrical points, and plumbing connections. Use the IKEA kitchen planner tool to visualise your layout and ensure everything fits, factoring in your desired functionality and design. This will help guide where each cabinet, appliance, and benchtop should go.
Tip: Keep in mind that standard measurements and clearances are essential for optimal flow and accessibility.
Step 2: Preparing the Area
Before starting the installation, clear the area and ensure walls, floors, and ceilings are ready for new cabinetry. Check the flatness of your floors and walls, as this can affect the stability and alignment of cabinets. Use a leveller to confirm that the floor is even and the walls are straight, making adjustments as needed.
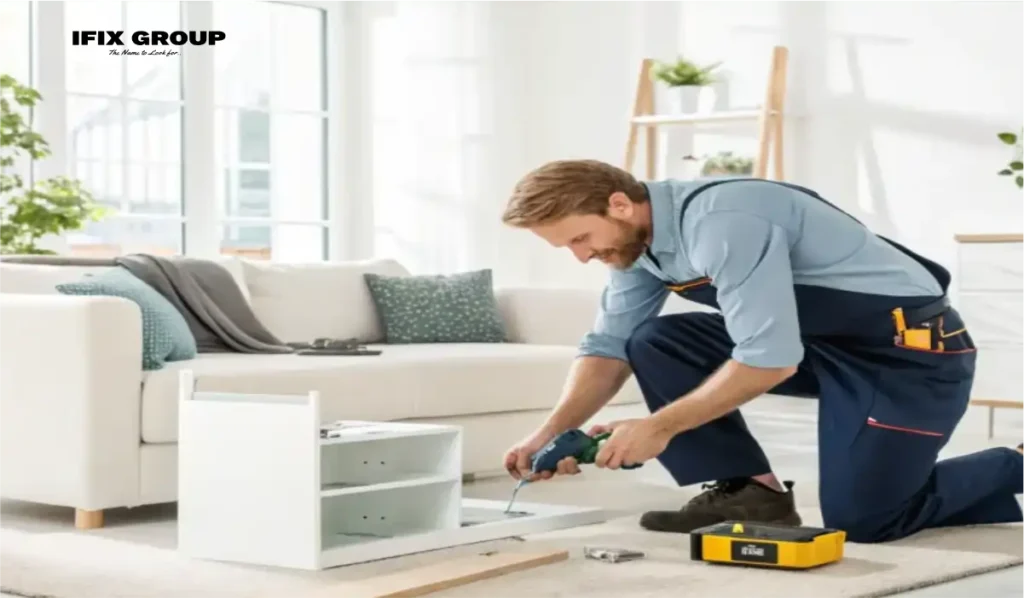
Step 3: Assembling IKEA Cabinets
Start by assembling your cabinets. IKEA’s assembly instructions are generally easy to follow, but it’s essential to be thorough to avoid misalignment:
- Lay out all parts and check them against the instruction manual.
- Assemble the cabinets as per IKEA instructions, taking care to tighten all screws and bolts.
- Install hinges and sliders for drawers and doors.
Using clamps can help hold parts together for alignment while securing screws. Work systematically to avoid mixing up parts, especially for drawers and door panels.
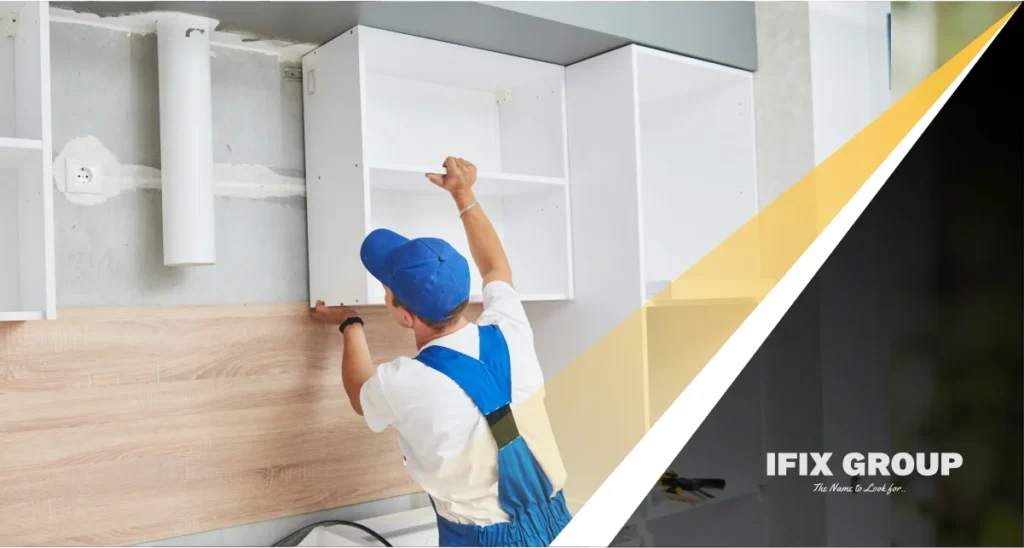
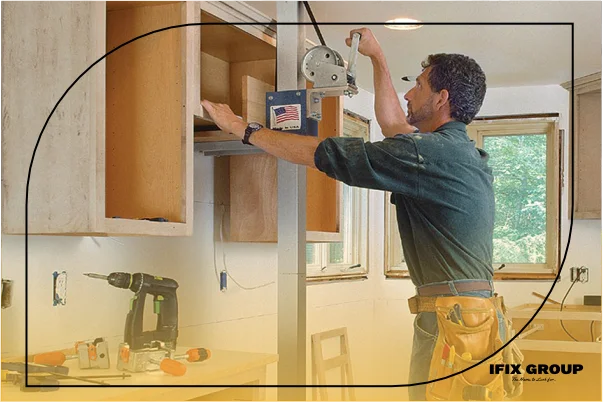
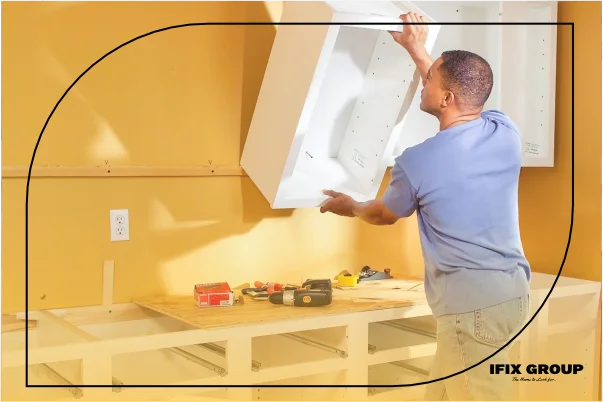
Step 4: Installing Upper Cabinets
Start with the upper cabinets for easier access to levelling and alignment. Here’s how:
- Locate and mark wall studs with a stud finder.
- Drill pilot holes into the studs to prevent splitting.
- Secure the mounting rail (if your cabinets use one) levelly on the wall.
- Hang the cabinets on the rail and use shims to adjust alignment.
It’s crucial to use a spirit level to ensure all cabinets are even, as this will prevent uneven gaps and misaligned doors. Secure the cabinets together using screws.
Step 5: Installing Lower Cabinets and Levelling
Install lower cabinets next, ensuring they are level and secure:
- Position each cabinet along the wall, starting from a corner.
- Adjust legs or use shims to ensure the cabinet is level.
- Secure cabinets to each other for a tight fit.
Level alignment is essential here, as any discrepancy will affect the benchtop and overall look of the kitchen. Once all cabinets are level, attach them to the wall.
Step 6: Securing Benchtops and Cutting for Sinks and Appliances
With lower cabinets in place, it’s time to secure your benchtops. You may need to cut sections of the benchtop for sinks, cooktops, or other appliances:
- Measure and mark exact locations for sinks and appliances.
- Cut carefully using a circular saw, following safety guidelines.
- Place the benchtop on the cabinets and secure it in place.
This step requires accuracy and attention to detail, as poor cuts can ruin the benchtop’s aesthetics and function.
Step 7: Adding Doors, Drawers, and Hardware
Now that the core structures are in place, attach doors, drawers, and hardware to complete the look:
- Install drawer rails and hinges first for a solid foundation.
- Add doors and drawers, adjusting alignment to ensure everything opens and closes smoothly.
- Attach handles and knobs as the final touch.
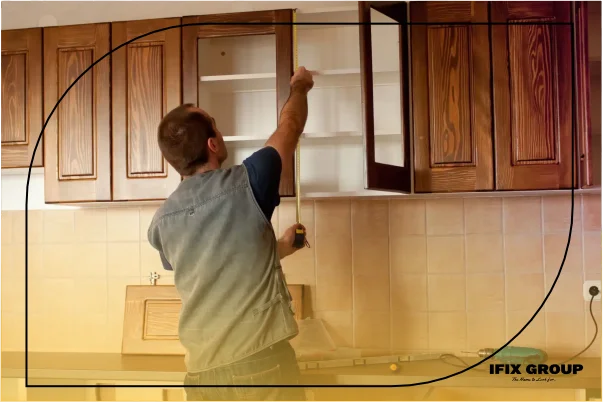
Step 8: Final Adjustments and Alignment
Inspect your work and make final adjustments to alignment. Check that all doors and drawers open without obstruction, and adjust hinges if necessary for a clean, symmetrical look. Ensure everything is securely fastened to withstand regular use.
Common Challenges When Installing an IKEA Kitchen
Despite IKEA’s user-friendly approach, challenges may arise, such as:
- Levelling issues on uneven floors
- Alignment problems with walls that aren’t straight
- Cutting benchtops to fit sinks and cooktops accurately
If these challenges feel overwhelming, IFIX Group’s professional installers are ready to assist, offering a seamless and efficient installation process that takes the stress out of DIY.
When to Call a Professional Installer
While IKEA kitchens are designed for DIY, some aspects are best handled by professionals. If you’re dealing with complex plumbing or electrical work, consider consulting a licensed tradesperson. For installation involving heavy lifting or tight spaces, the experts at IFIX Group provide safe, skilled support. Choosing professional installation can save you time, and ensure your kitchen meets Australian standards.
Additional Services Offered by IFIX Group for IKEA Kitchens
Beyond standard installation, IFIX Group offers additional services to enhance your kitchen, including:
- Custom adjustments for non-standard spaces
- Plumbing and electrical work for a fully functional kitchen
- Tile and splashback installation for a polished look
FAQs on IKEA Kitchen Installation
- How long does IKEA kitchen installation take?
Installation usually takes a few days, depending on the complexity and space. - What if my walls aren’t even?
Uneven walls are common; shims and adjustments can help, or you can contact IFIX Group for precision installation. - Are IFIX installers licensed and insured?
Yes, all IFIX installers are licensed and fully insured.
Contact IFIX Group for Your IKEA Kitchen Installation Needs
Installing an IKEA kitchen can be a fulfilling project, but professional help is always available for a smooth and safe process. For Melbourne residents looking for reliable, professional IKEA kitchen installation, contact IFIX Group for a consultation or quote.